|
|
|
1 tube misted 1 tube principal Plug-in / I.C.NET Software/ Filter Unlimited / Convolution Filters / Gaussian Blur Plug-in / Eye Candy 5 / Textures / Weave / Satin, Tiny, Smeared Plug-in / Eye Candy 5 / Impact / Extrude / Centered, Small Taper Plug-in / Eye Candy 5 / Impact / Perspective Shadow, Drop Shadow, Blurry PSP X3

Roteiro
01-
Abra uma
imagem transparente de 800 x 600 pixels
Selections/ Select
All
02-
Edity / Copy no tube misted / Paste Into Selection
Selections/ Select None
03-
Escolha duas
cores do tube misted
Cor escura no
Foreground e Cor clara no Background
Faça um
Gradiente Linear / A: 120 / R: 4
Invert e Link
center and focal points desmarcados
04- Layers / New Raster Layer / Pinte com o Gradiente formado 05- Layers / Arrange / Move Down
06- Layers / Merge / Merge Visibile
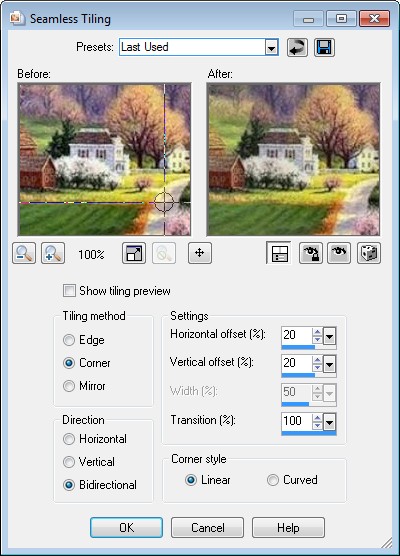
07- Effects / Image Effects / Seamless Tiling, conforme print
08- Plugins / I.C.NET Software/ Filter Unlimited / Convolution Filters / Gaussian Blur / Radius 255
09- Effects /Plugins / Eye Candy 5 / Textures/ Weave / Satin, Tiny, Smeared
10- Layers / New Raster Layer
Selections/ Select All
11- Paste Into Selection
Selections/ Select None
12- Blend Mode / Saturation
13- Layers / Duplicate
Blend Mode / Normal
14- Aplique a SSFrameMask127 / Invert marcado
Layers / Merge / Merge Group
15- Adjust / Sharpness / Sharpen More
16- Layers / Merge / Merge Visibile
17- Selections / Select All
Selections / Modify / Contract / 40
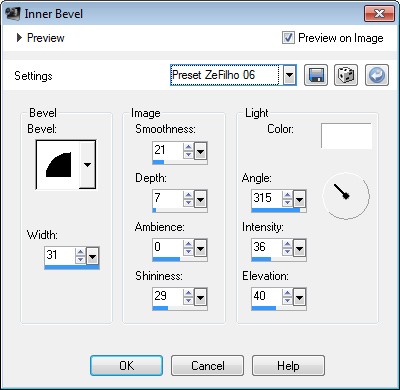
18- Effects / 3D Effects / Inner Bevel / Preset Zé Filho 6, conforme print
19- Effects / 3D Effects / Drop Shadow / Horizontal e Vertical: (-4) / Opacity: 100 / Blur: 12 / Cor preta
20- Selections /Invert
21- Effects / User Defined Filter / Glass edges
22- Selections/ Select None
23- Layers / New Raster Layer
24- Pinte com uma cor forte e contrastante da tag
25- Aplique a Mask_&_Ildiko_kjk1a-35b / Invert desmarcado
Layers/ Merge/ Merge Group
26- Effects / 3D / Drop Shadow / Horizontal e Vertical: 2 / Opacity: 100 / Blur :2 / Cor preta
27- Effects / User Defined Filter / Emboss_8
28- Adjust / Sharpness / Sharpen More
29- Image / Resize / 90% / Resize all layers desmarcado
30- Effects / Plug-in / Eye Candy 5 / Impact / Extrude / Centered, Small Taper
31- Adjust / Sharpness / Sharpen More
32- Image / Add Borders / Symmetric Marcado 3 / Cor preta
33- Image / Add borders / Symmetric marcado 40 / Qualquer para ser selecionada
34- Com a ferramenta Magic Wand assinale essa borda
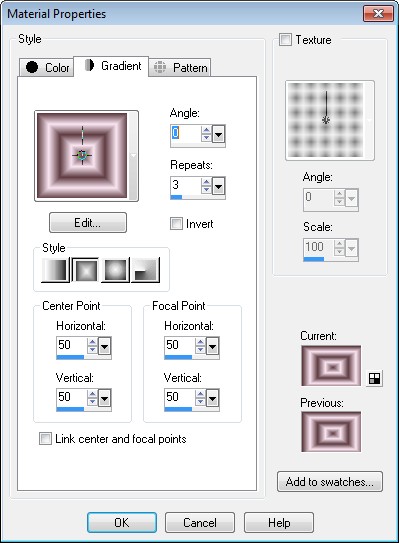
35- Escolha duas cores da tag
/
Cor escura no Foreground
/ Clara no Background
Faça um gradiente Rectangular,
conforme print, e pinte a
borda
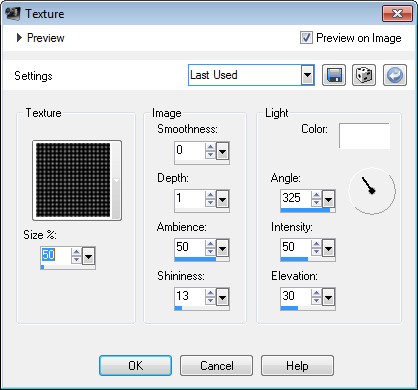
36- Effects / Texture Effects / Texture / Fine Canvas conforme print
37- Adjust / Sharpness / Sharpen More
38- Selections/ Select None
39- Aplique o tube principal / Resize se necessário / Posicione como queira
40- Effects / Plug-in Eye Candy 5 / Impact / Perspective Shadow, Drop Shadow, Blurry
41- Image / Add Borders / Symmetric marcado 3 / Cor preta
42- Image / Add Borders / Symmetric marcado 3 / Qualquer cor clara da tag
43- Repita ítem 41
44- Redimensione para Width 800 pixels
45- Assine e salve em Jpg
Outros modelos
Modelo 1
Modelo 2
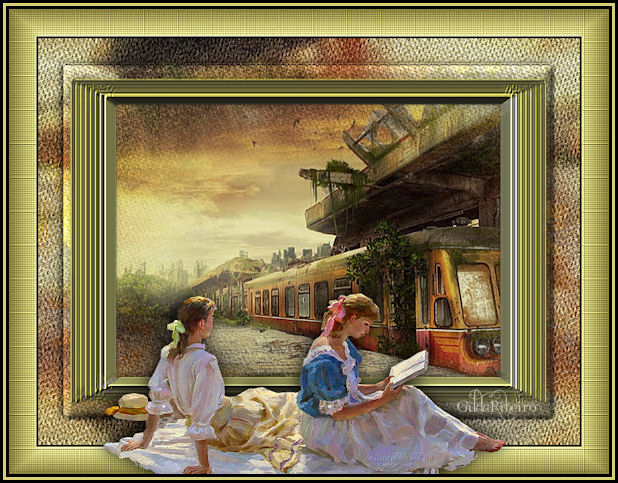
Créditos: Tag Principal: Tube misted: paisage_tiram_886 Tube femme_vintage22_franiemargot
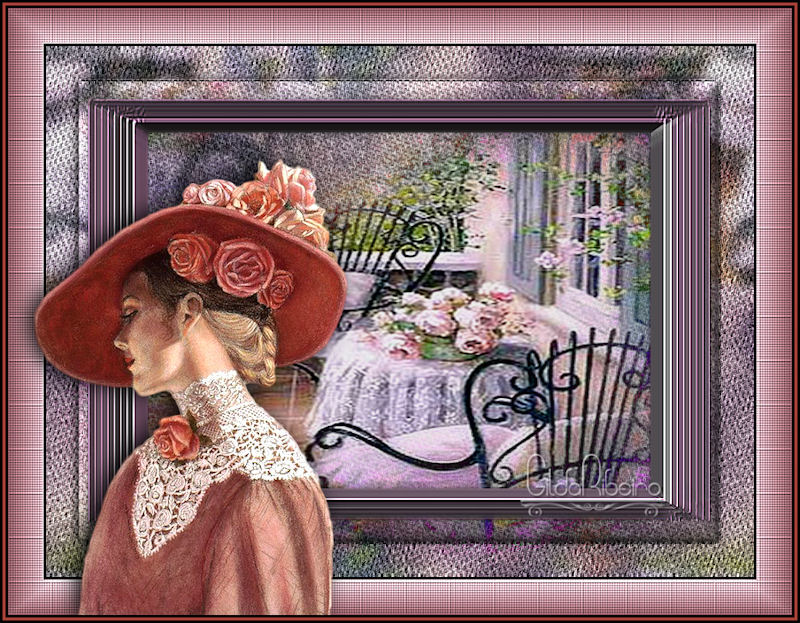
Tube misted calguismisted3d_90211 Tube principal da net sem menção de autoria
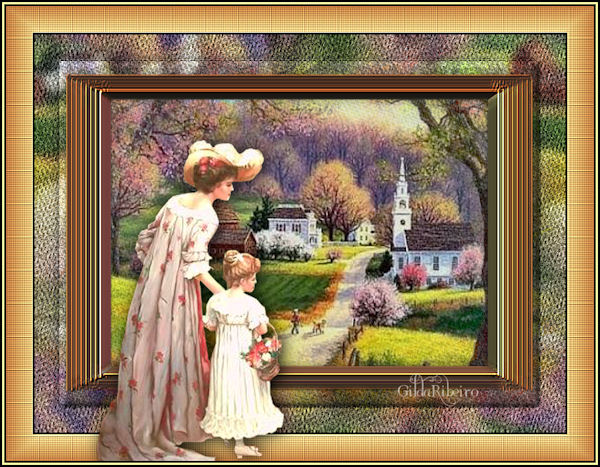
Modelo 2 Tube Misted paysage_242_franiemargot Tube principal da net sem menção de autoria
Tutorial criado por Gilda Ribeiro, em 12 de setembro de 2018, sendo proibida sua divulgação sem o prévio consentimento da autora.
|